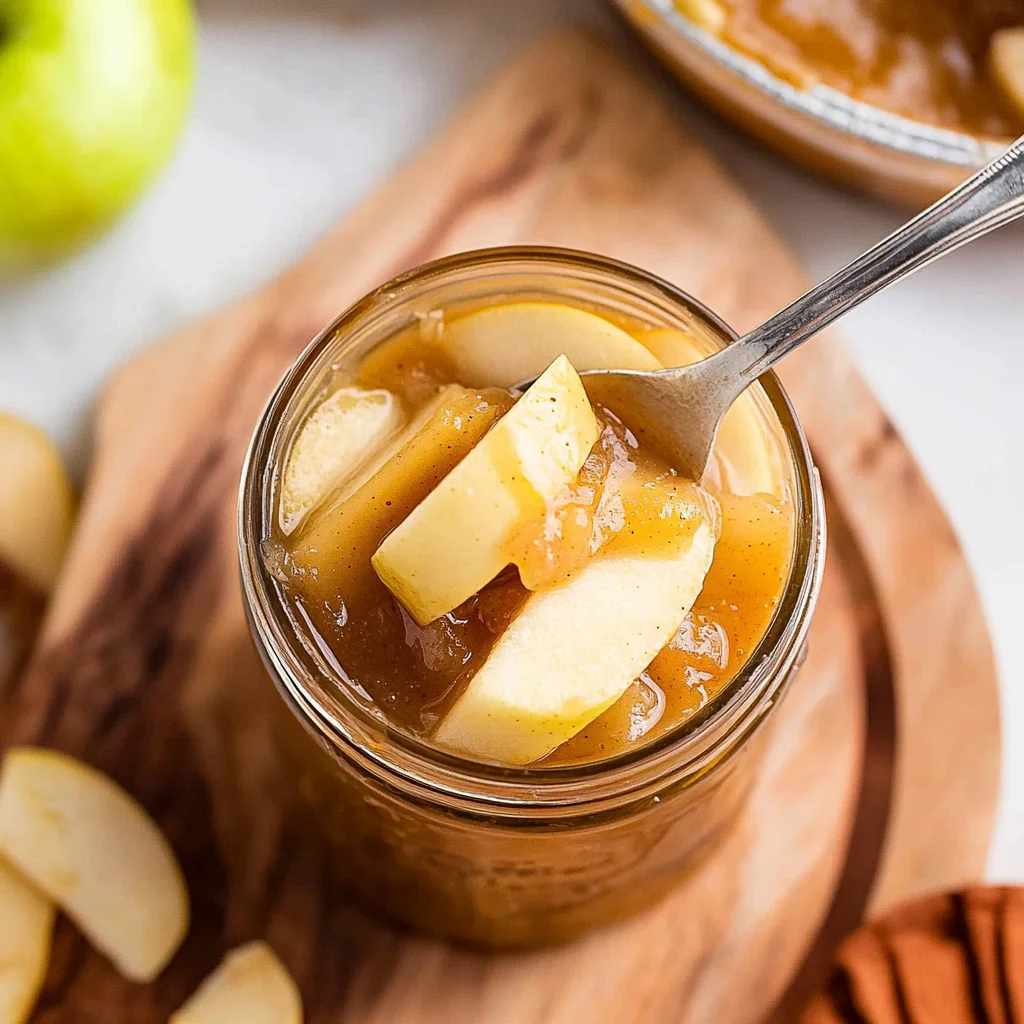
Canning Apple Pie Filling
A delicious and easy recipe for canning apple pie filling, perfect for preserving the taste of fall apples for year-round enjoyment.
Print
Pin
Servings: 6 quarts
Calories: 120kcal
Ingredients
For the Apple Filling
- 6 cups peeled and sliced apples Use a mix of tart and sweet apples like Granny Smith and Honeycrisp.
- 2 cups granulated sugar Adjust based on the sweetness of apples.
- 1/2 cup brown sugar Packed.
- 1/4 cup all-purpose flour For thickening.
- 1 tablespoon ground cinnamon Adjust to taste.
- 1/4 teaspoon ground nutmeg Optional for extra flavor.
- 1/4 teaspoon salt Enhances flavor.
- 1 cup water To cook the apples.
- 1 tablespoon lemon juice Prevents browning of apples.
For Canning
- 6 quarts canning jars Sterilized.
- 6 lids canning lids New lids for sealing.
- 6 bands canning bands To secure the lids.
Instructions
Prepare the Apples
- Wash, peel, and core the apples. Slice them into thin wedges, about 1/4 inch thick. This helps them cook evenly and fit well in the jars.
- In a large bowl, toss the sliced apples with lemon juice to prevent browning.
Make the Filling
- In a large pot over medium heat, combine the sliced apples, granulated sugar, brown sugar, flour, cinnamon, nutmeg, salt, and water. Stir well to coat the apples.
- Cook the mixture for about 5-10 minutes, stirring occasionally, until the apples are just tender but not mushy. This step helps to release the juices and thicken the filling.
Prepare for Canning
- While the apple filling is cooking, sterilize your canning jars by placing them in boiling water for 10 minutes. Keep them hot until ready to fill.
- Prepare the lids according to the manufacturer's instructions, usually by simmering them in hot water.
Fill the Jars
- Using a ladle and canning funnel, fill each sterilized jar with the hot apple filling, leaving about 1 inch of headspace at the top. This space is necessary for the expansion of the filling during processing.
- Wipe the rims of the jars with a clean cloth to remove any residue that could prevent sealing.
- Place a lid on each jar and screw on the band until it's fingertip tight. Do not overtighten, as this can prevent proper sealing.
Process the Jars
- Place the filled jars in a boiling water canner. Ensure the jars are covered by at least 1 inch of water.
- Bring the water to a boil and process the jars for 20 minutes for quarts. Adjust the time for altitude if necessary (add 5 minutes for every 1,000 feet above sea level).
- After processing, carefully remove the jars using a jar lifter and place them on a clean towel or cooling rack. Allow them to cool completely for 12-24 hours.
Check Seals and Store
- Once cooled, check the seals by pressing down in the center of each lid. If it doesn't pop back, the jar is sealed. If it pops back, refrigerate and use within a week.
- Store sealed jars in a cool, dark place. Properly canned apple pie filling can last up to a year.
Notes
This apple pie filling is perfect for making pies, crisps, or even as a topping for pancakes and waffles. Adjust spices according to your taste preference.
Nutrition
Serving: 1serving | Calories: 120kcal | Carbohydrates: 30g | Sodium: 5mg | Potassium: 100mg | Fiber: 2g | Sugar: 25g | Vitamin C: 10mg | Calcium: 1mg | Iron: 2mg