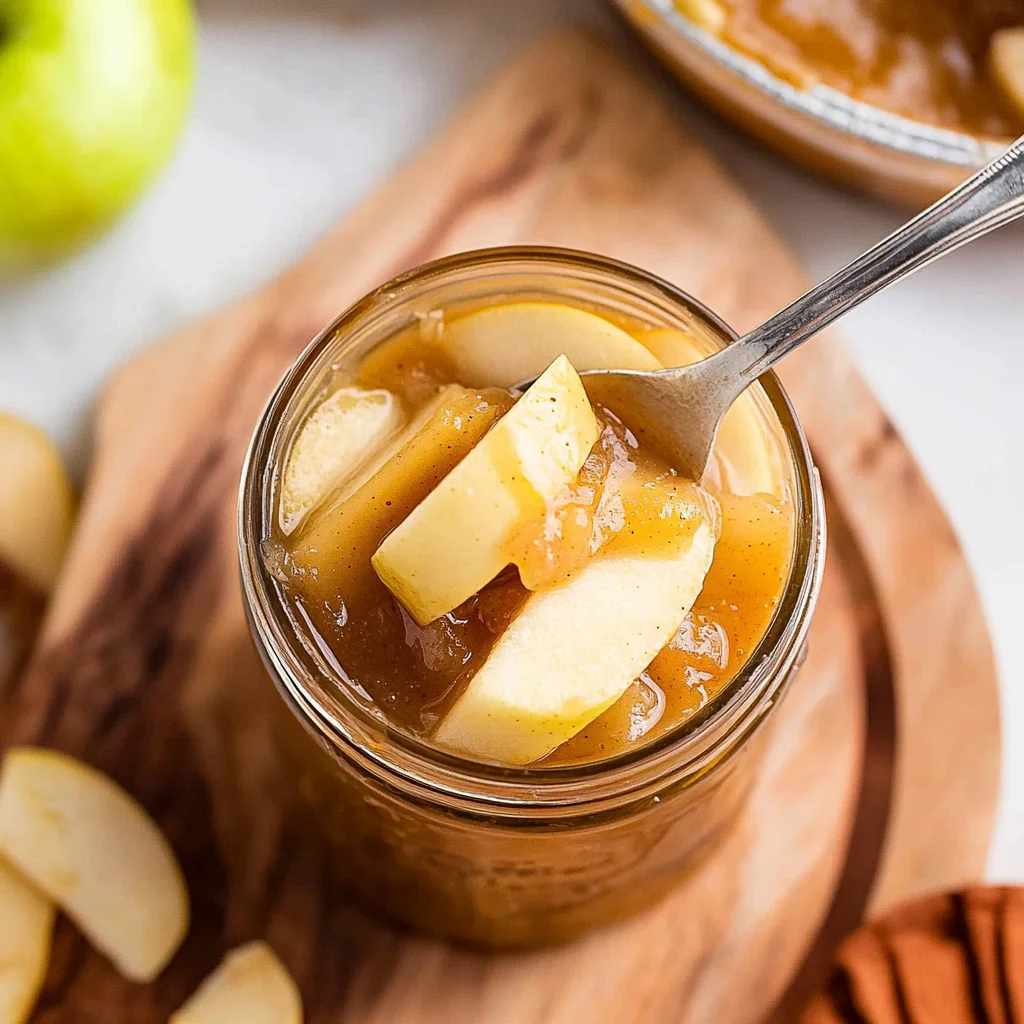
The smell of warm apples and spices fills the kitchen as you start canning apple pie filling. The tender slices glisten, ready to become a comforting dessert.
You can definitely do this at home. Just follow the steps carefully, and remember that it’s okay if your jars don’t look perfect. Enjoy the process!
Why This Recipe Works
This recipe for canning apple pie filling balances the sweetness of apples with just the right amount of sugar and spices, creating a delicious mixture. Cooking the apples briefly ensures they remain tender without becoming mushy, while thickening agents like flour help achieve the perfect consistency for canning. These steps ensure your filling is ready to use anytime.
To make sure the process goes smoothly, let’s look at how to prepare the apples effectively.
The One Thing That Makes It Work
- The secret to successfully canning apple pie filling lies in the careful balance of sweet and tart apples, like Granny Smith and Honeycrisp.
- This mix ensures a well-rounded flavor that stands out after canning.
- Also, don’t skip the lemon juice; it’s essential for keeping your apples looking fresh and vibrant.
As you gather your ingredients and prepare to can, it’s crucial to follow each step closely for the best results.
Essential Ingredients
For a successful canning apple pie filling, gather the following essential ingredients.
- 6 cups peeled and sliced apples: Use a mix of tart Granny Smith and sweet Honeycrisp for balanced flavor.
- 2 cups granulated sugar: Adjust based on the natural sweetness of your apples for the perfect sweetness.
- 1/2 cup brown sugar: Packed to enhance the depth of flavor in your filling.
- 1/4 cup all-purpose flour: This will help thicken the filling, giving it a nice consistency.
- 1 tablespoon ground cinnamon: Adjust this spice to your taste for added warmth and flavor.
- 1/4 teaspoon ground nutmeg: Optional but adds an extra layer of flavor if desired.
- 1/4 teaspoon salt: Enhances the flavor profile, balancing the sweetness of the sugars.
- 1 cup water: Essential for cooking the apples and creating a syrupy filling.
- 1 tablespoon lemon juice: Prevents browning of apples, keeping them looking fresh and vibrant.
- 6 quarts canning jars: Ensure they are sterilized to maintain food safety during storage.
- 6 lids canning lids: Use new lids for sealing to ensure proper sealing and preservation.
- 6 bands canning bands: Secure these on the jars to keep the lids in place during processing.
The full ingredients list, including measurements, is provided in the recipe card directly below.
Do This, Not That
- When selecting apples for canning apple pie filling, choose a mix of tart Granny Smith and sweet Honeycrisp rather than just one type to achieve a balanced flavor.
- Instead of using regular sugar alone, incorporating brown sugar adds depth to the sweetness and complexity of your filling.
- For thickening, opt for all-purpose flour as specified rather than cornstarch, which can change the texture of the finished product.
Now that you have the essential tips for success, let’s move on to the detailed steps in preparing your apple pie filling for canning.
Step-by-Step Method
Start by washing, peeling, and coring your apples. Slice them into thin wedges, about 1/4 inch thick. This ensures that they cook evenly and fit nicely in the jars. As you do this, you’ll notice the fresh, crisp scent of the apples filling your kitchen.
In a large bowl, toss the apple slices with lemon juice. This step is important as it prevents browning and keeps your apples looking fresh and vibrant. The lemon juice will create a tangy contrast to the sweetness of the filling.
Next, combine the sliced apples with granulated sugar, brown sugar, flour, cinnamon, nutmeg, salt, and water in a large pot over medium heat. Stir well until all the apples are coated. You’ll start to smell the warm spices as everything heats up.
Cook this mixture for about 5-10 minutes while stirring occasionally. Look for the apples to become just tender but not mushy. The sugars will begin to melt, creating a syrupy texture that clings to the apple slices nicely.
While your filling cooks, sterilize your canning jars by boiling them for 10 minutes. Keep them hot until you’re ready to fill them. This will help ensure a proper seal when canning apple pie filling.
Once your filling is ready, use a ladle and canning funnel to fill each jar with hot apple mixture. Leave about 1 inch of headspace at the top. Wipe the rims clean before placing on lids and securing with bands; this ensures a tight seal for safe storage.
Now that you’ve prepared your jars with delicious apple filling, it’s time to process them properly for long-term storage.
Troubleshooting (If Something Goes Wrong)
If your jars don’t seal, ensure the rims are clean and try processing them again. If the apple filling is too runny, you can thicken it with additional flour during the cooking step next time. Remember, mistakes happen in canning apple pie filling, and adjustments can always be made for better results in your next batch. Now let’s explore how to enjoy your delicious apple pie filling!
Variations You’ll Actually Want to Try
Feel free to mix up the spices by adding a little ginger or cloves for a unique twist. You can also swap out a portion of the apples with pears for added depth. If you enjoy a bit of tartness, consider increasing the lemon juice slightly. These small adjustments can make your canning apple pie filling feel fresh and exciting. Now, let’s explore some tips for ensuring your jars seal properly.
Pick Your Flavor Path
- For a spicy twist, add a pinch of cayenne pepper to the filling for a surprising kick.
- If you prefer a fresh touch, mix in some finely grated ginger for an aromatic zing.
- To bring richness, consider stirring in a couple of tablespoons of cream cheese just before canning for a delightful creaminess.
Now that you’ve explored flavor options, let’s move on to the essential steps for canning apple pie filling.
FAQ
How long does canning apple pie filling last?
Canned apple pie filling can last up to a year if stored properly in a cool, dark place.
Can I substitute other types of apples for the filling?
Yes, you can use other apple varieties, but a mix of tart and sweet is best.
How do I reheat canned apple pie filling for use?
Reheat the filling on the stove over medium heat or in the microwave until warmed through.
This FAQ section should help clarify any concerns, making your canning apple pie filling experience even smoother.
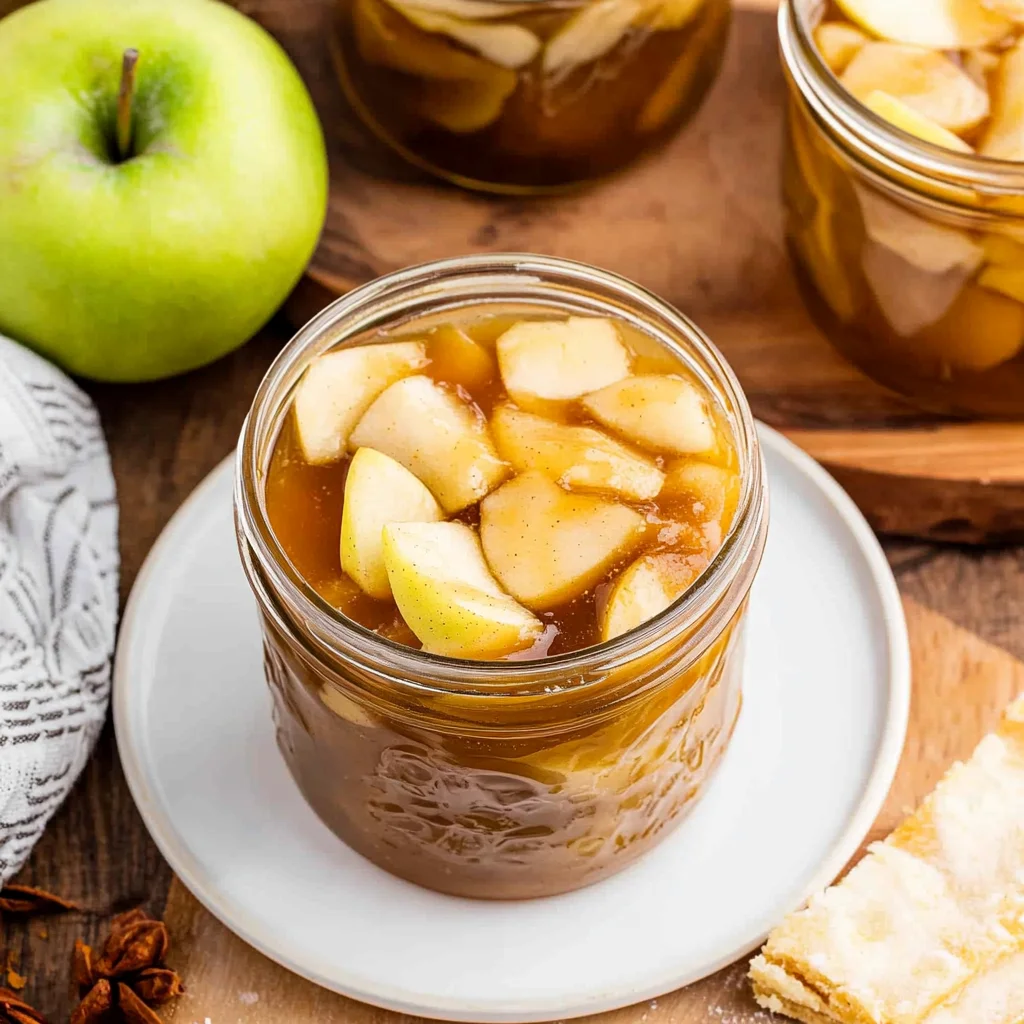
Canning Apple Pie Filling
Ingredients
For the Apple Filling
- 6 cups peeled and sliced apples Use a mix of tart and sweet apples like Granny Smith and Honeycrisp.
- 2 cups granulated sugar Adjust based on the sweetness of apples.
- 1/2 cup brown sugar Packed.
- 1/4 cup all-purpose flour For thickening.
- 1 tablespoon ground cinnamon Adjust to taste.
- 1/4 teaspoon ground nutmeg Optional for extra flavor.
- 1/4 teaspoon salt Enhances flavor.
- 1 cup water To cook the apples.
- 1 tablespoon lemon juice Prevents browning of apples.
For Canning
- 6 quarts canning jars Sterilized.
- 6 lids canning lids New lids for sealing.
- 6 bands canning bands To secure the lids.
Instructions
Prepare the Apples
- Wash, peel, and core the apples. Slice them into thin wedges, about 1/4 inch thick. This helps them cook evenly and fit well in the jars.
- In a large bowl, toss the sliced apples with lemon juice to prevent browning.
Make the Filling
- In a large pot over medium heat, combine the sliced apples, granulated sugar, brown sugar, flour, cinnamon, nutmeg, salt, and water. Stir well to coat the apples.
- Cook the mixture for about 5-10 minutes, stirring occasionally, until the apples are just tender but not mushy. This step helps to release the juices and thicken the filling.
Prepare for Canning
- While the apple filling is cooking, sterilize your canning jars by placing them in boiling water for 10 minutes. Keep them hot until ready to fill.
- Prepare the lids according to the manufacturer's instructions, usually by simmering them in hot water.
Fill the Jars
- Using a ladle and canning funnel, fill each sterilized jar with the hot apple filling, leaving about 1 inch of headspace at the top. This space is necessary for the expansion of the filling during processing.
- Wipe the rims of the jars with a clean cloth to remove any residue that could prevent sealing.
- Place a lid on each jar and screw on the band until it's fingertip tight. Do not overtighten, as this can prevent proper sealing.
Process the Jars
- Place the filled jars in a boiling water canner. Ensure the jars are covered by at least 1 inch of water.
- Bring the water to a boil and process the jars for 20 minutes for quarts. Adjust the time for altitude if necessary (add 5 minutes for every 1,000 feet above sea level).
- After processing, carefully remove the jars using a jar lifter and place them on a clean towel or cooling rack. Allow them to cool completely for 12-24 hours.
Check Seals and Store
- Once cooled, check the seals by pressing down in the center of each lid. If it doesn't pop back, the jar is sealed. If it pops back, refrigerate and use within a week.
- Store sealed jars in a cool, dark place. Properly canned apple pie filling can last up to a year.