
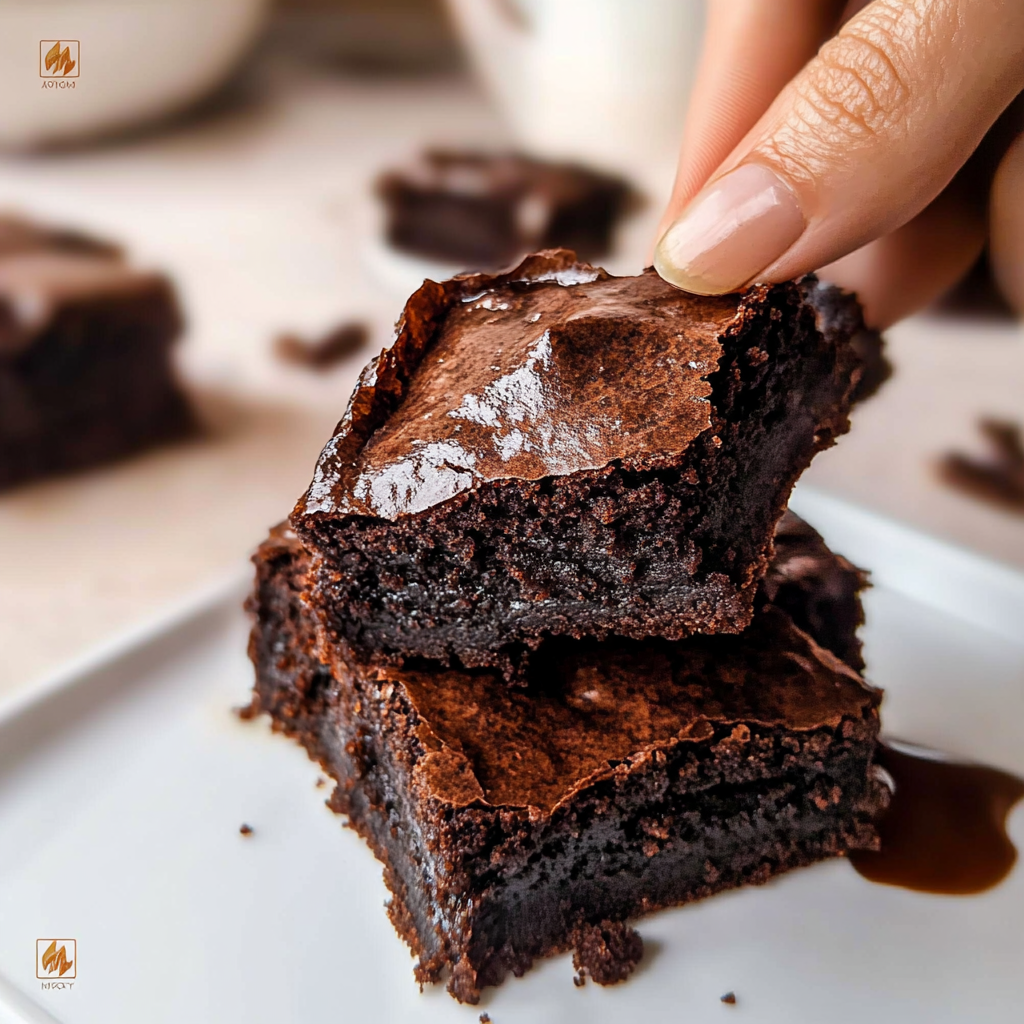
There’s something utterly magical about the moment you bite into a mochi brownie. Imagine a dense, fudgy chocolate square that gives way to a chewy, delightfully sticky texture. chocolate orange ice cream pairing Your taste buds will dance with joy as the rich cocoa mingles with that unique mochi chewiness, creating an experience that feels like a warm hug for your soul. creamy chocolate banana ice cream. For more inspiration, check out this Creamy Gochujang Udon Noodles recipe.

Every time I whip up these mochi brownies, I’m reminded of my first baking adventure with my grandmother. We laughed, made a mess, and created something so delicious it felt like we were conjuring magic in our kitchen. delicious brownie truffles recipe Perfect for family gatherings or cozy nights in, these brownies are sure to become a cherished part of your own sweet memories.
Why You'll Love This Recipe
- These mochi brownies are incredibly easy to prepare, making them perfect for both novice and experienced bakers
- The flavor profile is rich and decadent with a chewy twist
- Their visual appeal will have everyone swooning over your baking skills
- Enjoy them as dessert or snack; they truly shine on any occasion
I remember the first time I shared these mochi brownies with friends; their eyes lit up as they took their first bites, and I knew I had struck gold. For more inspiration, check out this Marinated Cucumbers, Onions, and Tomatoes recipe.
Essential Ingredients
Here’s what you’ll need to make this delicious dish:
- Gluten-Free Mochiko Flour: This sweet rice flour gives the brownies their signature chewy texture; don’t substitute it!
- Cocoa Powder: Use high-quality unsweetened cocoa powder for that rich chocolate flavor.
- Granulated Sugar: Regular sugar will do just fine here, but feel free to experiment with alternatives if you wish.
- Eggs: Fresh eggs help bind the ingredients together while adding moisture; room temperature works best.
- Butter: Melted unsalted butter adds richness and helps create that fudgy texture we all crave.
- Vanilla Extract: A splash of vanilla enhances the flavor; use pure extract if possible for an extra aromatic kick.
- Baking Powder: Just a pinch helps the brownies rise slightly while still maintaining their dense structure.
- Pinch of Salt: A little salt balances the sweetness and brings out all those lovely chocolatey flavors.
The full ingredients list, including measurements, is provided in the recipe card directly below. Oreo birthday cake cookies recipe.
Let’s Make It Together
Preheat oven to 350°F (175°C). Grease an 8×8-inch baking pan with cooking spray or line it with parchment paper for easy removal later.
Mix Dry Ingredients: In a large bowl, whisk together gluten-free mochiko flour, cocoa powder, granulated sugar, baking powder, and salt until well combined. The aroma will start wafting through your kitchen!
Add Wet Ingredients: Pour in melted butter, eggs, and vanilla extract. Mix until everything is just combined—don’t overmix! You want the mixture smooth but not frothy.
Fold in Mochi Texture: If you’re feeling adventurous, now’s the time to fold in some chopped mochi or chocolate chips for extra surprises. Gently stir until evenly distributed.
Pour into Baking Pan: Transfer the brownie batter into your prepared baking pan. Spread it evenly using a spatula; you want every corner filled with chocolaty goodness.
Bake Brownies: Bake in preheated oven for about 25-30 minutes or until a toothpick inserted comes out mostly clean—remember that these babies should stay fudgy!
Let cool completely before cutting into squares. Trust me; waiting makes all the difference!
Now you have delicious mochi brownies that are sure to impress anyone who takes a bite!
You Must Know
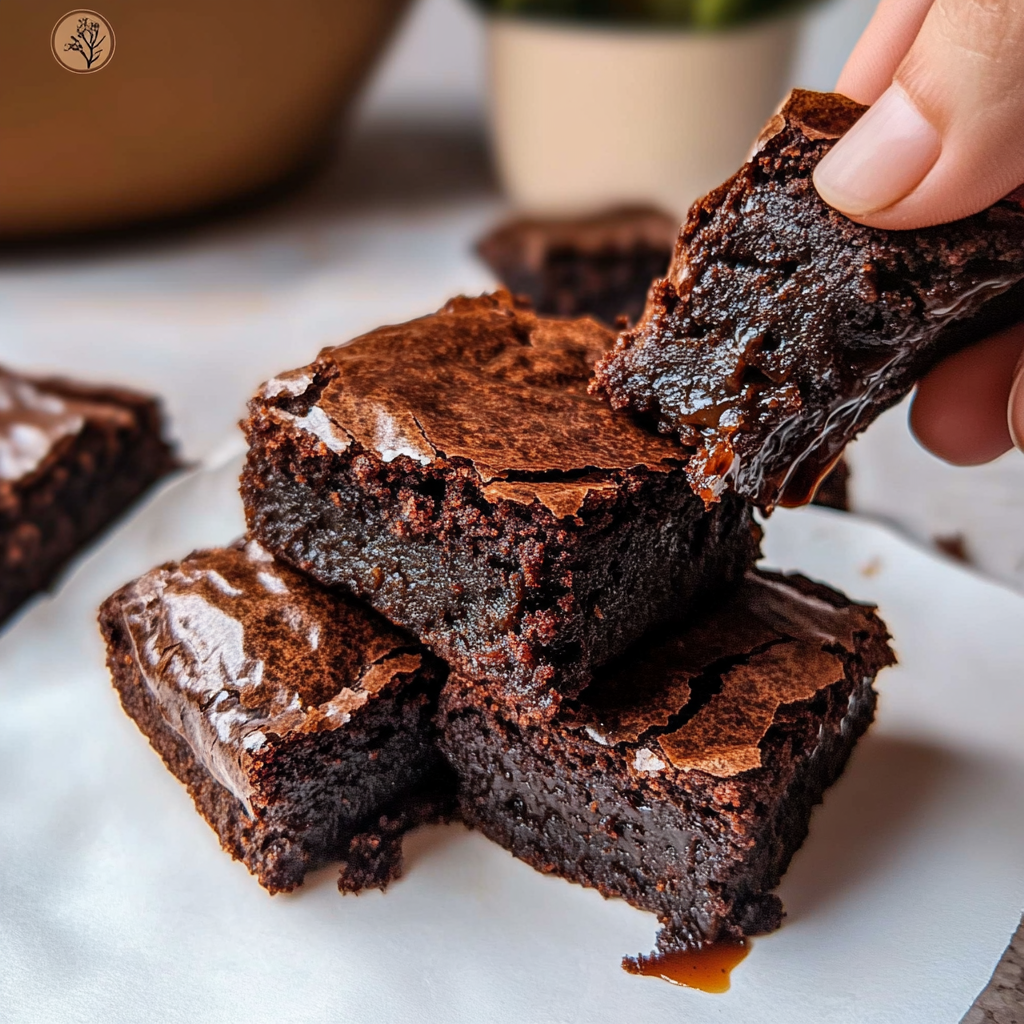
- Mochi brownies combine chewy and fudgy textures, creating a dessert that’s truly unforgettable
- The unique combination of ingredients results in a rich chocolate flavor that’s sure to impress friends and family
- Perfect for gatherings or a cozy night in with Netflix
Perfecting the Cooking Process
Start by preheating your oven while you prepare the batter. Mix dry ingredients first, then add wet ones for even distribution, ensuring a smooth texture.
Add Your Touch
Feel free to swap in different types of chocolate or add nuts for extra crunch. You can also experiment with flavorings like espresso or vanilla for a personal twist.
Storing & Reheating
Store your mochi brownies in an airtight container at room temperature for up to three days. For longer storage, keep them in the fridge and reheat in the microwave for a few seconds.
Chef's Helpful Tips
- Make sure to use glutinous rice flour; it’s essential for that chewy texture!
- Do not overmix the batter; gentle folding maintains airiness
- Allow them to cool completely before cutting for clean edges and perfect squares
I once made these mochi brownies for a party, and they disappeared faster than I could say “mochi.” Friends raved about how they were unlike anything they had tasted before!
FAQ
What makes mochi brownies different from regular brownies?
Mochi brownies have a unique chewy texture from glutinous rice flour, making them distinct.
Can I make mochi brownies gluten-free?
Yes, using gluten-free flours helps maintain the chewy texture while avoiding gluten.
How do I store leftover mochi brownies?
Keep them in an airtight container at room temperature or refrigerate for later enjoyment.

Indulge in Irresistible Mochi Brownies
- Total Time: 40 minutes
- Yield: Approximately 12 servings 1x
Description
Experience the perfect blend of chewy and fudgy with these delightful mochi brownies. Each bite is a blissful journey through rich cocoa flavors and a unique texture that will leave your taste buds craving more. Easy to prepare and perfect for any occasion, these brownies are a nostalgic treat that evokes warm memories while creating new ones.
Ingredients
- 1 cup gluten-free mochiko flour
- 1/2 cup unsweetened cocoa powder
- 1 cup granulated sugar
- 2 large eggs (room temperature)
- 1/2 cup unsalted butter (melted)
- 1 tsp pure vanilla extract
- 1 tsp baking powder
- Pinch of salt
Instructions
- Preheat oven to 350°F (175°C) and grease an 8×8-inch baking pan or line it with parchment paper.
- In a large bowl, whisk together the mochiko flour, cocoa powder, sugar, baking powder, and salt until combined.
- Add melted butter, eggs, and vanilla extract; mix until just combined—avoid overmixing.
- Pour the batter into the prepared pan, smoothing it out evenly.
- Bake for 25-30 minutes or until a toothpick inserted comes out mostly clean.
- Allow to cool completely before cutting into squares.
- Prep Time: 10 minutes
- Cook Time: 30 minutes
- Category: Dessert
- Method: Baking
- Cuisine: Japanese
Nutrition
- Serving Size: 1 brownie (approximately 40g)
- Calories: 180
- Sugar: 15g
- Sodium: 60mg
- Fat: 8g
- Saturated Fat: 5g
- Unsaturated Fat: 2g
- Trans Fat: 0g
- Carbohydrates: 24g
- Fiber: 1g
- Protein: 3g
- Cholesterol: 40mg