
Imagine the delightful combination of rich chocolate and velvety cream as you create your icebox cake, a dessert that brings together the best of both worlds. The moment you dip those crisp chocolate wafer cookies into milk, you can almost hear the soft, satisfying crunch that will transform into a luscious layer when paired with the airy cream filling. The sweet aroma of vanilla wafts through your kitchen, mingling with the promise of indulgence that awaits with each slice.
As you gather your friends or family around to enjoy this treat, you’ll be reminded of carefree summer days spent sharing stories and laughter over dessert. This recipe is not only easy to put together but also rewards you with a beautiful layered cake that looks as impressive as it tastes. So stick around, because this icebox cake is sure to become a cherished favorite in your home!
Why You'll Love This Recipe
- You’ll adore this icebox cake for its effortless preparation that requires no baking, making it perfect for any occasion.
- The combination of fluffy cream filling and rich chocolate wafer cookies creates a delightful flavor that will satisfy any sweet tooth.
- Visually appealing with layers to showcase, it’s an impressive dessert that’s sure to wow your guests.
- Plus, you can easily customize it with different toppings or flavors, making it a versatile treat for everyone to enjoy.
Making icebox cake always brings a smile to my family’s faces. Last time, my daughter exclaimed, “This is the best dessert ever!” as she took her first bite, and I couldn’t help but feel proud of that simple, sweet moment. Now, let’s dive into the recipe details.
Essential Ingredients
Creating a delightful icebox cake starts with gathering the right ingredients.
Heavy whipping cream: Use 2 cups of chilled heavy whipping cream for a rich and fluffy texture that forms the base of your cream filling.
Powdered sugar: A cup of sifted powdered sugar sweetens the cream filling, ensuring it’s smooth and free from lumps for an elegant finish.
Vanilla extract: Add 1 teaspoon of pure vanilla extract to enhance the flavor profile of your cream filling, making it aromatic and delicious.
Cream cheese: Soften 8 ounces of cream cheese to room temperature before mixing; this ensures a creamy consistency that blends well with the other ingredients.
Chocolate wafer cookies: Two packages (approximately 9 ounces each) are essential for creating the layers of your cake, offering a chocolatey crunch that complements the creamy filling.
Milk: One cup of milk is needed for quickly dipping the chocolate wafer cookies. This step adds moisture without making them soggy.
Chocolate shavings (optional): Use 1 cup of chocolate shavings as a garnish to add an extra touch of elegance and rich chocolate flavor on top.
Fresh berries (optional): A cup of fresh berries can provide a tart contrast to the sweetness of the icebox cake, enhancing both presentation and taste.
The full ingredients list, including measurements, is provided in the recipe card directly below.
Let’s Make It Together
Step 1: Prepare the Cream Filling:Start by grabbing a mixing bowl and adding the softened cream cheese along with the sifted powdered sugar. Using a whisk, blend them together until you achieve a smooth and creamy texture—this should take about 2-3 minutes. The mixture should be free of lumps and have a sweet, inviting aroma. In a separate bowl, whip the chilled heavy whipping cream with the pure vanilla extract until stiff peaks form; this usually takes around 4-6 minutes with an electric mixer. When you lift the whisk, the cream should hold its shape beautifully—this is key for that light, airy filling! Gently fold the whipped cream into the cream cheese mixture using a spatula to avoid deflating it; your filling should now be fluffy and delightful.
Step 2: Assemble Your Layers:Now comes the fun part! Pour your milk into a shallow bowl and dip each chocolate wafer cookie for just a second—long enough to soak up some moisture but not so long that they become soggy. Lay the dipped cookies side by side in the bottom of your loaf pan, creating an enticing visual layer. Spread a generous layer of your prepared cream filling over the cookies, smoothing it out evenly with your spatula to create a luscious contrast. My tip here is to aim for an even distribution; this ensures every slice is perfectly balanced in flavor!
Step 3: Repeat Until Full:Continue layering by alternating between dipped cookies and cream filling until you reach the top of your pan. Don’t worry if it looks like too much at first—it all comes together deliciously! Finish with one last layer of cream filling on top. This creamy crown will be irresistible once sliced! Remember to take a moment to admire those beautiful layers forming; it’s all about anticipation at this point.
Step 4: Chill for Perfection:Cover your pan tightly with plastic wrap and slide it into the refrigerator. Allow it to chill for at least 4 hours, or overnight if you can resist! This resting period is crucial as it lets the cookies soften and allows those wonderful flavors to meld together beautifully. The longer you wait, the better it gets!
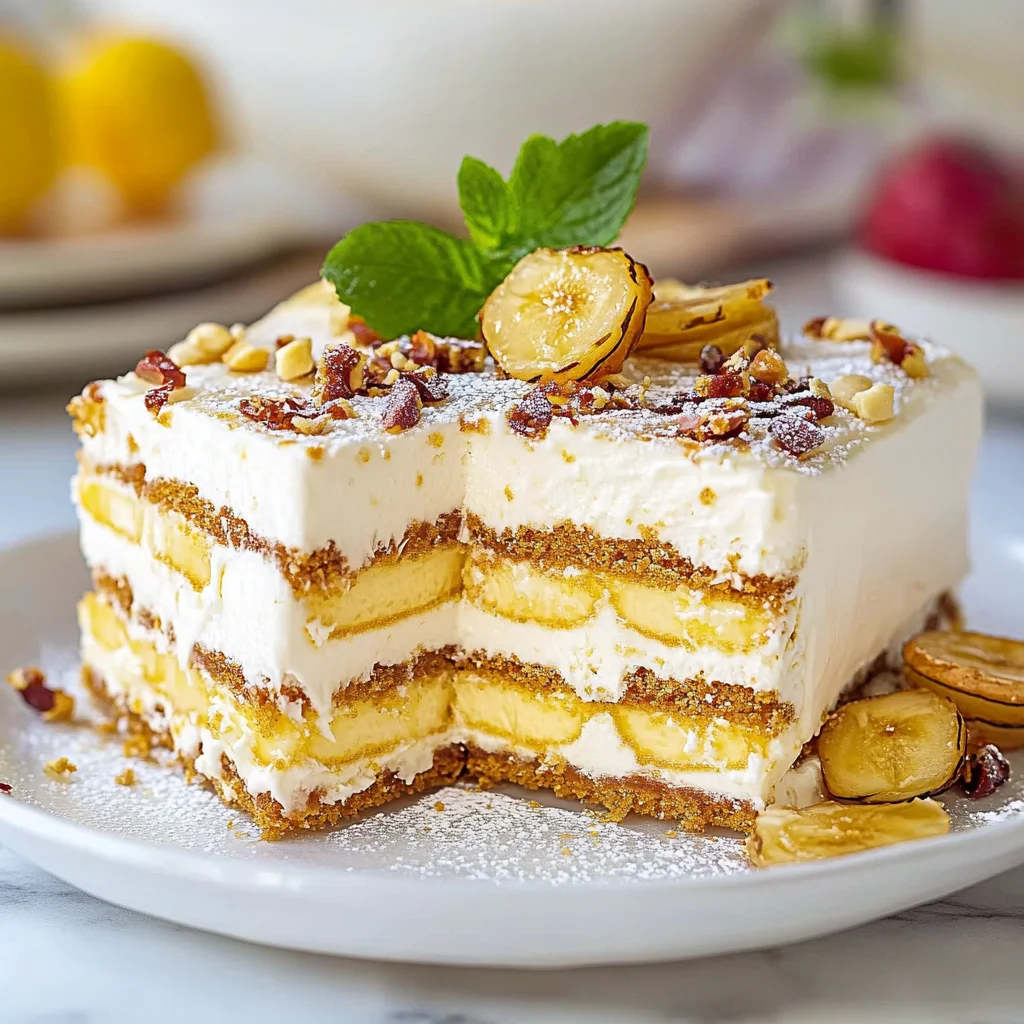
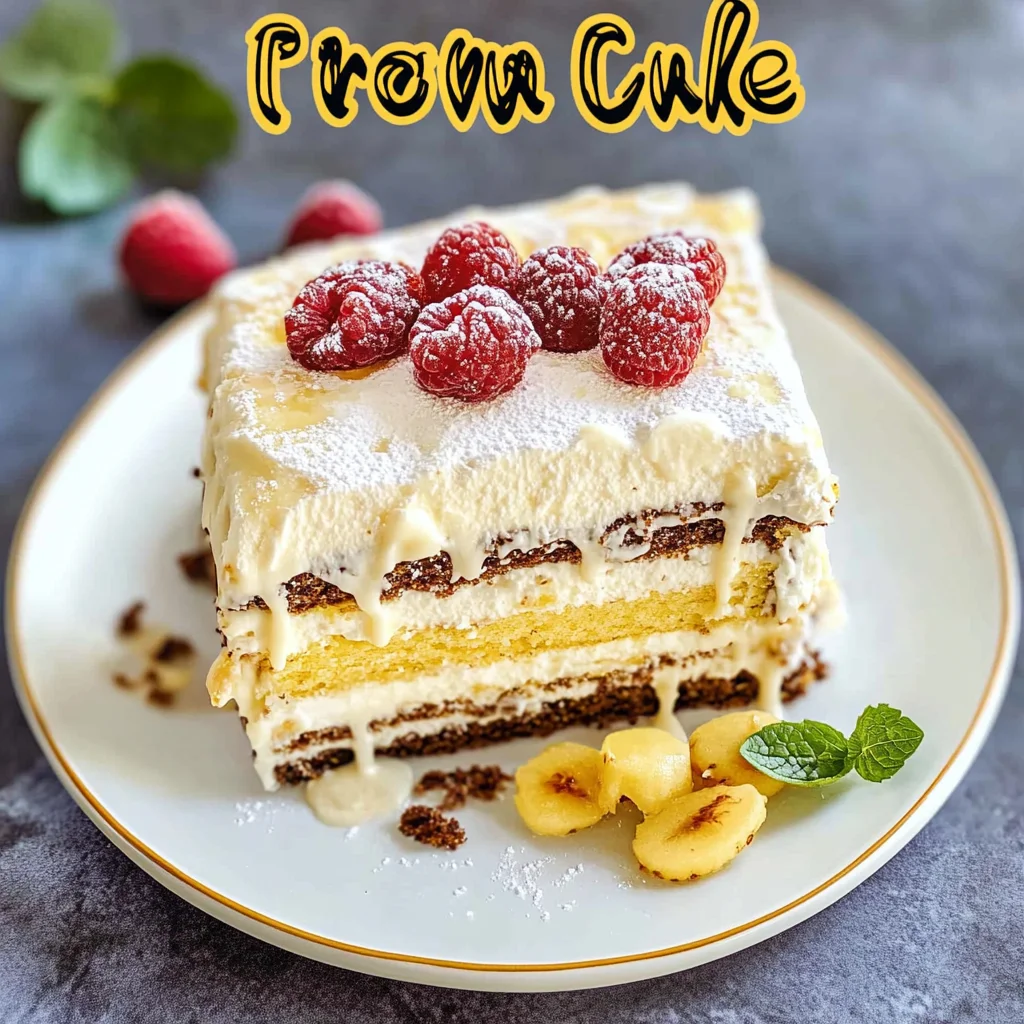
Step 5: Serve Up Your Creation:Once chilled, carefully remove your icebox cake from the refrigerator. Use the plastic wrap to lift it out of the pan gently—try not to rush this step! Slice into thick pieces that reveal those gorgeous layers inside. For an added touch of elegance, serve each slice adorned with optional chocolate shavings and fresh berries on top for that burst of color and flavor.
And there you have it—a delightful icebox cake waiting to be enjoyed! Now let’s explore some creative variations to make this classic treat uniquely yours.
You Must Know
- When whipping the heavy cream, ensure it’s chilled for the best results; a cold bowl also helps achieve those perfect stiff peaks.
- I learned this the hard way after a few deflated attempts!
- For dipping the chocolate wafer cookies, a quick dip in milk is key; too long will leave them soggy.
- I’ve found that a swift dunk keeps the texture just right.
- Letting the icebox cake chill overnight is crucial for flavor development and optimal texture.
- I always find that patience pays off, as the cake becomes even more delicious after a day in the fridge!
With these expert tips in mind, let’s dive into some delicious serving suggestions to elevate your icebox cake experience.
Add Your Touch
Get creative with your icebox cake by experimenting with different flavors and textures! Swap out the chocolate wafer cookies for vanilla or even ginger snaps for a unique twist. Try adding a layer of fruit preserves between the cream filling or folding in mini chocolate chips for extra indulgence. You can also infuse the whipped cream with almond extract or citrus zest for a refreshing flavor boost. Don’t hesitate to mix and match—this dessert is all about your personal touch and confidence in the kitchen!
Now that you’re ready to customize, let’s explore some serving suggestions to elevate your icebox cake experience.
Storing & Serving
To maintain the flavor and freshness of your icebox cake, store it tightly covered in the refrigerator for up to 5 days. When serving, slice the cake into thick pieces and consider adding a sprinkle of chocolate shavings or a handful of fresh berries on top for an inviting presentation. This enhances both the visual appeal and taste, ensuring every bite is delightful. Now that you have your icebox cake perfected, let’s explore some creative variations to elevate this classic dessert.
Chef's Helpful Tips
- 1. Whipping the Cream: Make sure your heavy whipping cream is very cold. This helps achieve stiff peaks more easily, ensuring your filling has the perfect light and airy texture for your icebox cake.
- Cookie Dipping Time: When dipping the chocolate wafer cookies in milk, do it quickly—just a second or two. Over-soaking can lead to soggy cookies that won’t hold their shape, compromising the structure of your dessert.
- Layering Technique: To avoid air pockets in your cream filling, spread it evenly with a spatula while assembling each layer. This ensures a beautifully cohesive icebox cake that’s not only delicious but also visually appealing when sliced.
With these tips in hand, you’re well on your way to mastering the art of the icebox cake!
As I served this icebox cake at my family’s summer gathering, the delighted gasps and smiles reminded me that simple desserts can create the most cherished memories.
How to Know It’s Done Perfectly
Your icebox cake should have smooth, creamy layers with a glossy finish on top. When sliced, it should reveal soft yet structured layers of cookies and cream, with a light and airy texture. Expect a delightful aroma of chocolate and vanilla, confirming the flavors are well melded. Remember, slight variations in texture or appearance are perfectly normal!
With your icebox cake ready to impress, let’s explore some creative serving ideas for this delightful dessert.
FAQ
What is an icebox cake?
An icebox cake is a delightful no-bake dessert that typically consists of layers of cookies and a creamy filling, allowing the cookies to soften in the refrigerator and create a cake-like texture.
How long does it take to prepare an icebox cake?
Preparation for this icebox cake takes about 30 minutes, but you should refrigerate it for at least 4 hours, or ideally overnight, to achieve the best flavor and texture.
Can I use different flavors of cookies for my icebox cake?
Absolutely! While chocolate wafer cookies are traditional, you can experiment with other flavors such as vanilla or even ginger snaps to create unique variations of your icebox cake.
How should I store my icebox cake?
Store your icebox cake in the refrigerator, tightly covered with plastic wrap, to keep it fresh. It’s best enjoyed within a few days for optimal taste and texture.
Can I make modifications to the cream filling in my icebox cake?
Yes, feel free to customize the cream filling by adding ingredients like cocoa powder for a richer chocolate flavor or incorporating crushed berries for a fruity twist, enhancing your icebox cake experience.
With these FAQs answered, you’re well on your way to mastering this delicious dessert. Now let’s explore some creative serving ideas for your icebox cake!