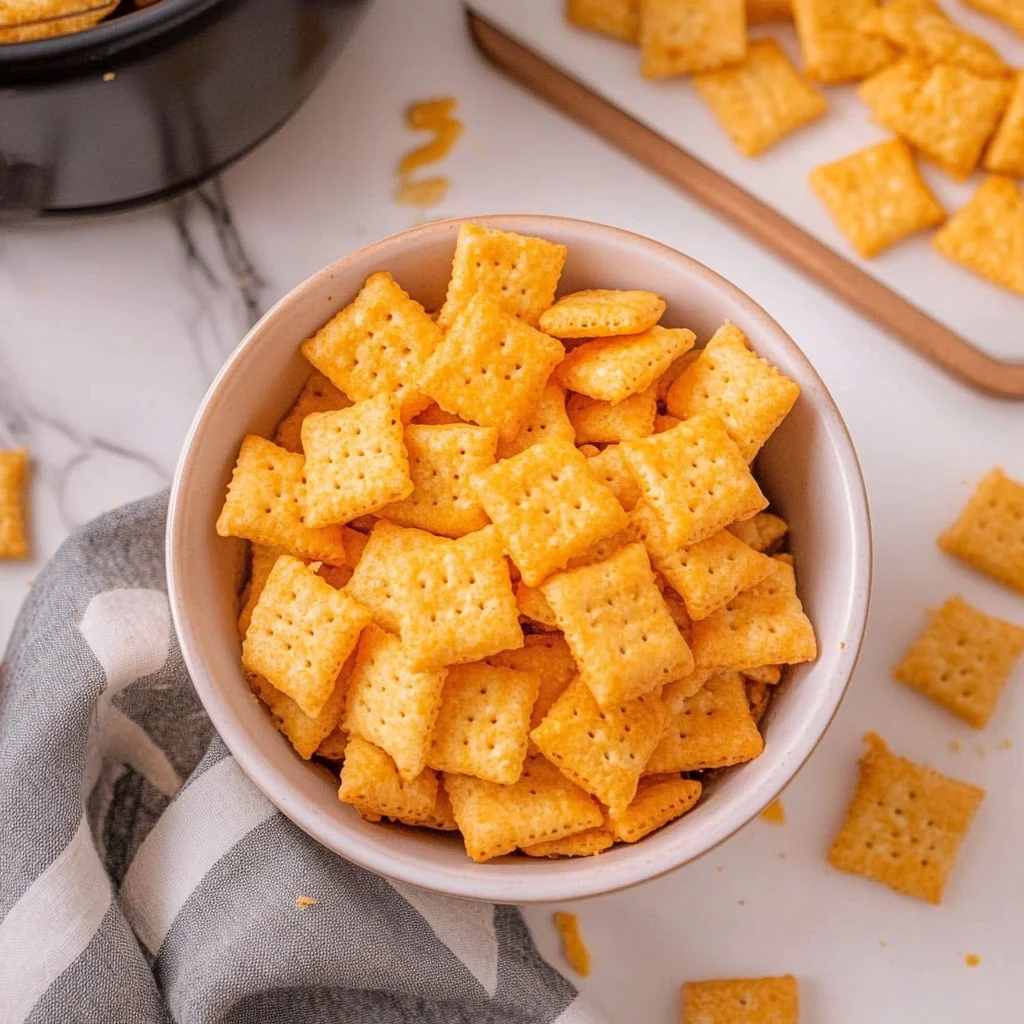
The aroma of freshly baked cheese crackers wafts through the air, bringing back delightful childhood memories. Homemade Cheez-Its, with their perfect crunch and cheesy goodness, transform snack time into a celebration of flavor. cheesy garlic breadsticks recipe.
Picture this: a cozy afternoon with friends gathered around a table, munching on these golden delights. The laughter, the stories shared, and the irresistible taste make every bite worth savoring. Whether it’s game night or a lazy Sunday, Homemade Cheez-Its are always a hit. For more inspiration, check out this creamy udon noodles recipe.
Why You'll Love This Recipe
- These Homemade Cheez-Its are incredibly easy to prepare, making them perfect for any occasion
- Their bold cheese flavor and crunchy texture will satisfy your cravings
- The vibrant orange color makes them visually appealing on any platter
- Versatile enough to enjoy solo or pair with dips and spreads!
I remember the first time I made these with my niece; her eyes lit up when she took her first bite and declared them “the best snack ever.”

Essential Ingredients
Here’s what you’ll need to make this delicious dish: delicious pancake recipe.
- Sharp Cheddar Cheese: Use high-quality cheddar for maximum flavor; aged varieties add a delightful depth.
- All-Purpose Flour: This forms the base; make sure it’s well-sifted for even mixing.
- Unsalted Butter: Cold butter creates flakiness; cut it into small cubes for easier incorporation.
- Salt: A pinch enhances the cheese’s natural flavors; feel free to adjust based on preference.
- Water: Just enough to bring the dough together; start with a tablespoon and add more if necessary.
The full ingredients list, including measurements, is provided in the recipe card directly below. For more inspiration, check out this marinated cucumbers recipe recipe.
Let’s Make it Together
Prepare Your Dough: Begin by mixing shredded sharp cheddar cheese and cold cubed butter in a large bowl until crumbly. The mixture should resemble coarse crumbs before adding flour.
Add Flour and Salt: Gradually incorporate all-purpose flour and salt into the cheesy mix. Stir until everything is combined well, forming a slightly sticky dough that holds together.
Chill Out!: Wrap your dough in plastic wrap and refrigerate for about 30 minutes. This step is crucial as it helps develop flavor while firming up the dough for easier rolling.
Roll Out the Dough: Preheat your oven to 350°F (175°C). On a floured surface, roll out chilled dough until it’s about 1/8 inch thick. Use a pizza cutter or knife for clean edges!
Cut into Shapes: Use a sharp knife or cookie cutter to cut out your desired shapes. sweet lemon cookie cups You can go classic square or get creative with fun shapes—be as whimsical as you like!
Bake to Perfection: Place cutouts on parchment-lined baking sheets and bake for 12-15 minutes until they turn golden brown. Keep an eye on them; nobody likes burnt Cheez-Its!
Now that you’ve mastered Homemade Cheez-Its, enjoy them fresh from the oven or store any leftovers in an airtight container (if they last long enough). The crunchy texture and cheesy flavor will have everyone reaching for more!
You Must Know
- Homemade Cheez-Its are not just cheesy goodness; they bring nostalgia right to your kitchen
- Their delightful crunch and savory aroma will transport you back to carefree childhood days
- Plus, you can adjust the cheese levels based on your mood—cheesy, cheesier, or cheesetastically cheesy!
Perfecting the Cooking Process
For perfect Homemade Cheez-Its, mix your dry ingredients first, then add the cheese and butter. Shape the dough before chilling it for easier rolling and cutting.
Add Your Touch
Feel free to experiment with different cheese types like cheddar or pepper jack for a spicy twist. spicy buffalo chicken flatbread Adding herbs or spices can elevate the flavor profile even more.
Storing & Reheating
Store your Homemade Cheez-Its in an airtight container at room temperature for up to a week. To refresh them, pop them in a preheated oven at 350°F for a few minutes.
Chef's Helpful Tips
- For perfectly crispy Homemade Cheez-Its, make sure to roll out the dough thinly
- This helps achieve that satisfying crunch every time you bite into one
- Don’t skip chilling the dough; it prevents sticking while cutting shapes.</p>
- <p>Use a pizza cutter for speedy and precise cuts; it makes shaping so much easier!
I remember the first time I made these little bites of joy for a family gathering. Everyone went wild over them, and I felt like a culinary rock star!
FAQ
Can I use gluten-free flour for Homemade Cheez-Its?
Yes, gluten-free flour works well; just ensure it’s a 1: 1 baking blend.
How do I know when my Cheez-Its are done?
They should be golden brown and feel crisp when you touch them.
Can I freeze Homemade Cheez-Its?
Absolutely! Store them in an airtight bag for up to three months.

Homemade Cheez-Its
- Total Time: 30 minutes
- Yield: About 30 crackers 1x
Description
Homemade Cheez-Its are the ultimate snack that brings joy to any gathering. With their perfect crunch and bold cheesy flavor, these delightful bites are easy to prepare and sure to impress. Whether you’re hosting game night or enjoying a cozy afternoon at home, these homemade crackers will have everyone reaching for more. Plus, they’re versatile enough to pair with your favorite dips or enjoyed solo!
Ingredients
- 1 cup sharp cheddar cheese, shredded
- 1 cup all-purpose flour, well-sifted
- 1/2 cup unsalted butter, cold and cubed
- 1/2 tsp salt
- 2–4 tbsp cold water
Instructions
- In a large bowl, mix shredded sharp cheddar cheese and cold cubed butter until the mixture resembles coarse crumbs.
- Gradually add all-purpose flour and salt, stirring until a slightly sticky dough forms.
- Wrap the dough in plastic wrap and refrigerate for 30 minutes to develop flavor.
- Preheat your oven to 350°F (175°C). Roll out the chilled dough on a floured surface to about 1/8 inch thick.
- Cut into desired shapes using a sharp knife or cookie cutter.
- Place cutouts on parchment-lined baking sheets and bake for 12–15 minutes until golden brown.
- Prep Time: 15 minutes
- Cook Time: 15 minutes
- Category: Snack
- Method: Baking
- Cuisine: American
Nutrition
- Serving Size: 30g
- Calories: 150
- Sugar: 0g
- Sodium: 150mg
- Fat: 10g
- Saturated Fat: 6g
- Unsaturated Fat: 4g
- Trans Fat: 0g
- Carbohydrates: 12g
- Fiber: 0g
- Protein: 3g
- Cholesterol: 20mg