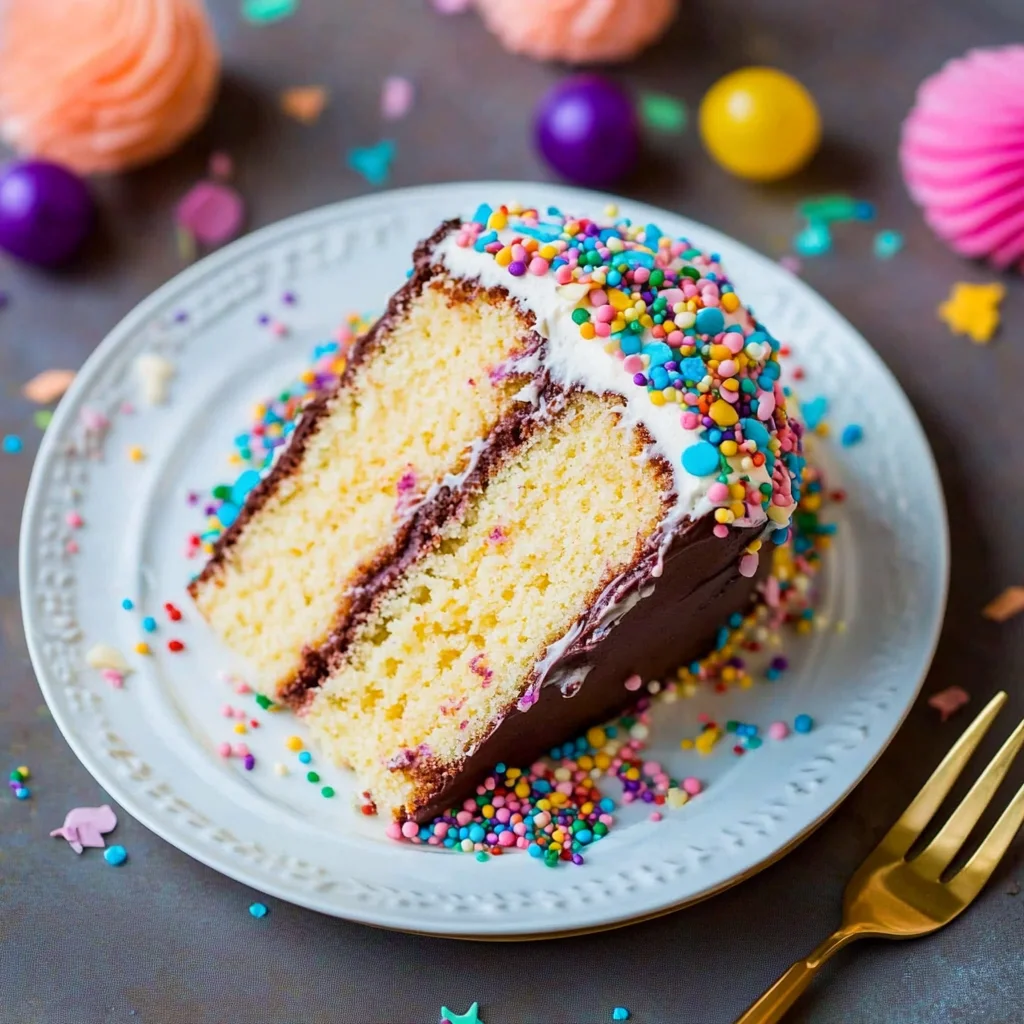
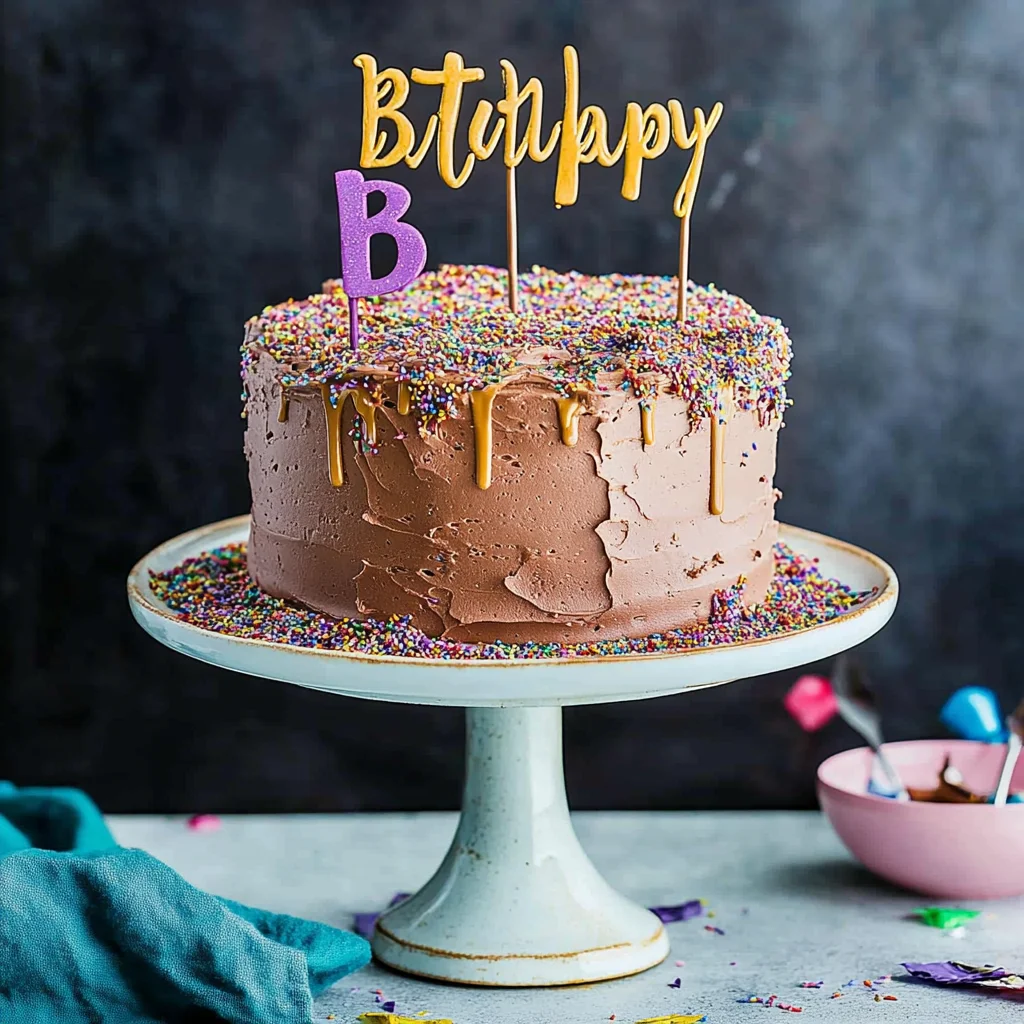
Imagine the delightful aroma of vanilla wafting through your kitchen as you whip up a happy birthday cake, where each layer promises a soft, buttery texture and a sweet, melt-in-your-mouth experience. The vibrant colors of sprinkles dancing atop creamy buttercream frosting bring an instant smile, making every slice feel like a celebration.
Baking this cake is not just about the final product; it’s about creating joyful memories with loved ones gathered around the table. With simple ingredients and straightforward steps, you’ll find that this recipe is not only easy to follow but also incredibly rewarding—perfect for making someone’s special day truly unforgettable. As you dive into the preparation, let’s explore the detailed steps to bring this delightful cake to life!
Why You'll Love This Recipe
- This happy birthday cake recipe is incredibly easy to follow, making it perfect for bakers of all skill levels.
- With its rich flavor and moist texture, each bite will bring smiles and joy to any celebration.
- The vibrant sprinkles add a festive touch, ensuring your cake looks as delightful as it tastes.
- Plus, you can customize the frosting with colors to match any party theme, making it versatile for every birthday celebration.
As I placed the happy birthday cake on the table, my niece’s eyes lit up with joy—her squeals of delight made every moment in the kitchen worth it. That cake was a celebration of love and sweet memories.
Now, let’s dive into how to create this delightful treat yourself!
Essential Ingredients
To create a delightful happy birthday cake, gather the following essential ingredients.
All-purpose flour: Use 2 cups of sifted all-purpose flour for a light and airy cake. Sifting helps remove lumps and aerates the flour, contributing to a fluffier texture.
Granulated sugar: You’ll need 1 cup of granulated sugar to sweeten the batter perfectly. This will also aid in creating that light and fluffy texture when creamed with butter.
Unsalted butter: Softened to room temperature, 1 cup of unsalted butter provides richness and moisture to your cake. Make sure it’s at the right softness for easy creaming.
Large eggs: Incorporate 4 large eggs, preferably at room temperature, which helps emulsify the batter for better consistency and rise during baking.
Whole milk: Use 1 cup of whole milk, also at room temperature, as it helps create a moist crumb and balances the fat content in your cake.
Baking powder: Ensure you use 2 teaspoons of fresh baking powder for leavening; this is crucial for achieving that perfect rise in your happy birthday cake.
Vanilla extract: Add 1 teaspoon of pure vanilla extract to infuse your cake with a warm, inviting flavor. Opt for pure over imitation for the best taste.
Salt: A pinch of 1/2 teaspoon salt enhances the overall flavor by balancing sweetness in your cake.
Unsalted butter (for frosting): Another cup of softened unsalted butter is required for making the frosting creamy and delicious.
Powdered sugar: You’ll need 4 cups of sifted powdered sugar for the buttercream frosting, which provides sweetness and structure; sifting prevents lumps.
Heavy cream (or milk): Use 1/4 cup of heavy cream (or milk) to achieve a silky smooth frosting consistency that spreads easily on your cake.
Food coloring: Optional but fun, food coloring can be added according to your theme or preference to make your frosting vibrant and festive.
Sprinkles: For decoration, gather about 1 cup of colorful sprinkles to give your happy birthday cake an exciting and celebratory look!
The full ingredients list, including measurements, is provided in the recipe card directly below.
Let’s Make It Together
Step 1: Preheat & Prep:Start by preheating your oven to 350°F (175°C). As the oven warms up, take a moment to grease and flour two 9-inch round cake pans. You want to see a light dusting of flour on the greased surface; this will ensure your happy birthday cake comes out effortlessly. A little tip: use parchment paper in the bottom of the pans for an even smoother release!
Step 2: Cream the Butter and Sugar:In a large mixing bowl, combine 1 cup of softened unsalted butter and 1 cup of granulated sugar. Using an electric mixer on medium speed, beat them together for about 3-5 minutes until the mixture is light and fluffy. You should notice its creamy texture and smell that delightful buttery aroma wafting through your kitchen—this is when you know you’re on the right track!
Step 3: Add Eggs & Vanilla:Now, crack in 4 large eggs one at a time, mixing well after each addition to ensure they are fully incorporated. Then, add in 1 teaspoon of pure vanilla extract for that sweet aroma. This phase should feel luxurious as the batter begins to come together into a smooth mixture.
Step 4: Combine Dry Ingredients:In a separate bowl, whisk together your sifted 2 cups of all-purpose flour, 2 teaspoons of baking powder, and 1/2 teaspoon of salt. The combination should look airy and light. Gradually add these dry ingredients to your wet mixture, alternating with 1 cup of room temperature whole milk; start and end with the flour mixture. Mix gently until just combined—overmixing can lead to a dense cake!
Step 5: Bake the Cake:Divide the batter evenly between your prepared cake pans. Slide them into your preheated oven and bake for about 25-30 minutes. Keep an eye out for that golden-brown hue on top! When done, a toothpick inserted into the center should come out clean. Let them cool in the pans for about 10 minutes before transferring them onto a cooling rack—you’ll love how good they smell!
Step 6: Frost & Decorate</strong:Once your cakes are completely cool, it’s time to whip up your buttercream frosting! In another bowl, beat together 1 cup of softened unsalted butter with an electric mixer until creamy. Gradually mix in 4 cups of sifted powdered sugar on low speed until combined; then add in 1/4 cup of heavy cream and another teaspoon of pure vanilla extract. Beat at high speed for about 3 minutes until fluffy! Now spread a layer on top of one cake layer before stacking the second layer on top and frosting all around with sprinkles for that festive touch!
With every step completed, you can feel the excitement building as we prepare for slicing into this delicious happy birthday cake—let’s keep this celebration going with some creative decoration ideas!
Add Your Touch
Feel free to get creative with your happy birthday cake! Swap the vanilla extract for almond extract for a nutty twist, or incorporate lemon zest for a refreshing citrus flavor. You can also substitute half of the all-purpose flour with almond flour for a unique texture. For an extra burst of flavor, add chocolate chips or crushed fruit like strawberries or raspberries into the batter. Don’t hesitate to experiment with different colors of food coloring in your frosting, too—let your imagination run wild as you personalize this delightful cake!
With these ideas in mind, let’s explore some fun decoration techniques to make your cake truly shine.
Storing & Serving
To keep your happy birthday cake fresh and flavorful, store it in an airtight container at room temperature for up to three days. For longer storage, refrigerate it in the same container for up to a week. When serving, allow the cake to sit at room temperature for about 30 minutes before slicing to enhance its flavor and texture. Now that you know how to store and serve, let’s dive into some creative decoration ideas!
Chef's Helpful Tips
- 1. Room Temperature Ingredients: Ensure your eggs and milk are at room temperature before mixing. This helps create a smoother batter and results in a lighter, fluffier happy birthday cake. If you’re short on time, place eggs in warm water for a few minutes.
- Sifting Flour: Sift the flour before measuring to avoid dense cake layers. This aerates the flour, ensuring your happy birthday cake rises beautifully. Remember, measuring directly can lead to excess flour, impacting the cake’s texture.
- Frosting Technique: When frosting your cake, use an offset spatula for even application. Start by applying a thin crumb coat layer of buttercream first, refrigerate it briefly, then add the final layer of frosting for a smooth finish on your happy birthday cake.
These tips will help you navigate common baking challenges with ease, ensuring your cake turns out perfect every time! Now let’s move on to some creative decoration ideas that will make your happy birthday cake truly shine.
As I watched my niece’s eyes light up while blowing out the candles on her happy birthday cake, I realized that the joy of baking is truly in the love shared with each slice.
How to Know It’s Done Perfectly
To ensure your happy birthday cake is done perfectly, look for a golden-brown top with slightly domed edges. A toothpick should come out clean when inserted into the center. The cake should feel springy yet firm, and the aroma of vanilla and butter should fill your kitchen, signaling its deliciousness. Remember, small variations in color or texture are completely normal and add to the charm of your homemade creation.
With your cake now perfectly baked, let’s dive into the delightful process of frosting it!
FAQ
What makes this happy birthday cake recipe special?
This happy birthday cake recipe stands out due to its perfect balance of moistness and flavor, thanks to the combination of fresh ingredients and a classic buttercream frosting that is both creamy and light.
Can I customize the flavors in my happy birthday cake?
Absolutely! While this recipe features a vanilla base, you can easily customize your happy birthday cake by adding flavors such as almond extract or lemon zest for a unique twist.
How do I store leftover happy birthday cake?
To keep your happy birthday cake fresh, store it in an airtight container at room temperature for up to three days. For longer storage, consider refrigerating it or freezing individual slices.
What type of food coloring is best for decorating my happy birthday cake?
For vibrant results, gel food coloring is recommended when decorating your happy birthday cake, as it provides rich color without altering the consistency of the buttercream frosting.
Can I make this happy birthday cake ahead of time?
Yes! You can bake the cake layers a day in advance. Just ensure they are completely cooled before wrapping them tightly in plastic wrap and storing them at room temperature until you’re ready to frost and serve them.
Now that we’ve covered some common questions about making the perfect happy birthday cake, let’s explore some creative decoration ideas to make your celebration even more festive.